How to Adjust a Rear Derailleur
A workshop guide to indexing a rear derailleur: what the barrel adjuster, H/L limit screws, and B-tension each do, plus a step-by-step adjustment sequence and a job-to-tool cheat sheet.
On this page
To adjust a rear derailleur, work in this order: confirm the hanger is straight, set the high (H) limit screw so the upper pulley sits under the smallest cog, dial in cable tension at the barrel adjuster one quarter-turn at a time until every shift lands clean, set the low (L) limit screw so the chain reaches the largest cog without diving into the spokes, and finally set B-tension so the upper pulley clears the cassette by a few millimeters. Most "bad shifting" is one of those five things, and in our experience the one people skip is the first one: a bent hanger makes a perfect adjustment impossible. You cannot perfect the imperfect.
Skipping gears costs you time, patience, and the occasional town-sign sprint. The good news is that indexing a rear derailleur is a bench skill anyone can learn, and it relies on a short list of conditions being right: correct cable tension, a straight derailleur hanger, properly set limit screws, and clean cables and housing. Your shifter is built to pull a specific length of cable at each click, so any deviation throws the whole sequence off. Below is the order our mechanics work in, the screws and adjusters involved, and the tools that make each step repeatable.
The short version. Adjust a rear derailleur in five steps:
- Straighten the hanger. A bent hanger makes a perfect adjustment impossible, so check and true it first.
- Set the high (H) limit. With cable tension relieved, the upper pulley should sit under the smallest cog.
- Add cable tension. Turn the barrel adjuster out a quarter-turn at a time until each shift lands clean.
- Set the low (L) limit. The chain should reach the largest cog without diving into the spokes.
- Set B-tension. The upper guide pulley should clear the cassette teeth by a few millimeters.
What does the barrel adjuster do on a rear derailleur?
The barrel adjuster fine-tunes cable tension, and it does so by changing the length of the housing rather than the cable itself. Since the inner cable is anchored at both ends, lengthening or shortening a section of housing by even half a millimeter changes the tension the derailleur sees. Turn the adjuster out (counter-clockwise, away from the cable stop) and you add tension, which moves the derailleur toward the larger cogs. Turn it in (clockwise) and you shed tension, letting the derailleur fall back toward the small cog.
There are three places a barrel adjuster can live, and a bike can carry a combination of them. You will find one at the shifter (more common on flat-bar bikes), one at the rear derailleur where the housing enters, and sometimes an in-line adjuster spliced into a run of housing. When you have several, pick the one at the derailleur for the working adjustment and leave the others near their midpoint so you have room to turn either way later.
What do the high and low limit screws do?
The limit screws are two small screws that limit how far the derailleur can travel inboard and outboard. One is marked H for high and the other L for low. The H screw controls how far the derailleur can move toward the smallest cog (your high gear); the L screw controls how far it can move toward the largest cog (your low gear). They are mechanical end-stops, not tension adjusters, so they only do their job when cable tension is out of the way.
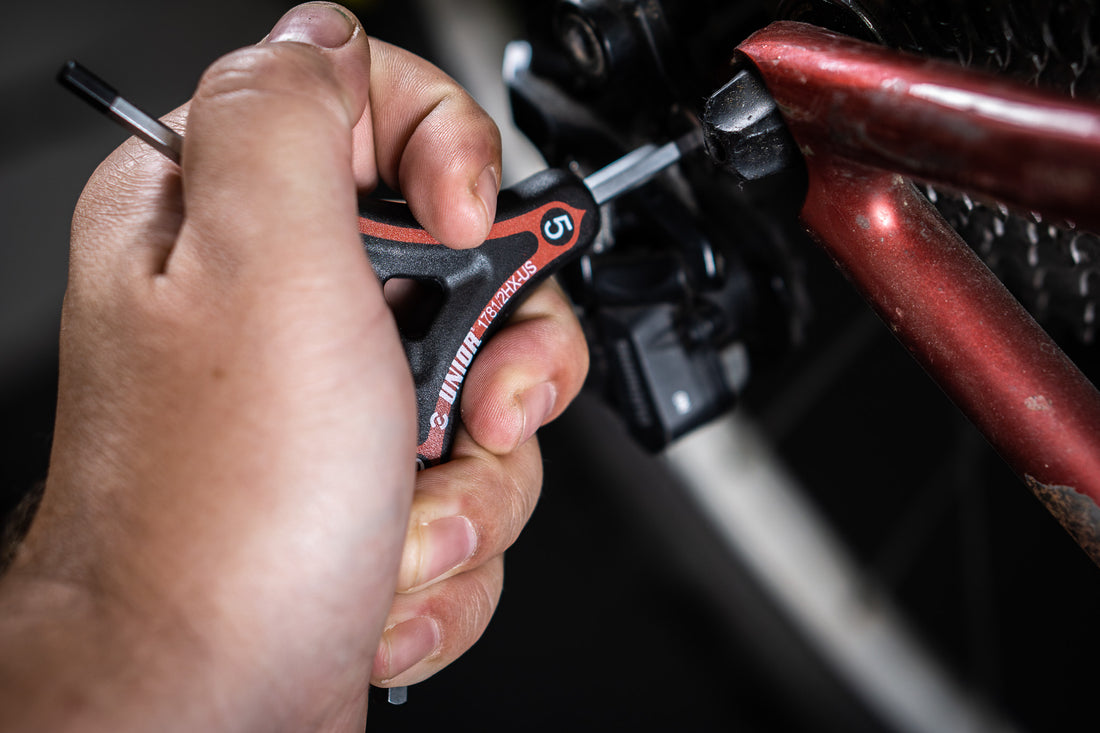
On most rear derailleurs the H, L, and B-tension screws all take a 2 mm hex key, so a single driver covers the whole adjustment. A 193HX T-handle hex set gives you the leverage and the feel for these small fasteners, and the same set handles the 4 mm and 5 mm work around the cockpit. Always check the derailleur maker's published numbers, because exact pulley positions vary brand to brand.
What is B-tension and how do you set it?
B-tension sets the gap between the upper guide pulley and the cassette teeth. The B-tension screw pushes against the derailleur hanger tab, rotating the derailleur body so the upper pulley moves closer to or farther from the cogs. Too little gap and the pulley clatters against the largest cog; too much gap and shifting goes vague and slow because the chain has too far to climb between cogs. Our practice is to set B-tension after the limits and indexing are dialed: shift to the largest cog, then turn the B-screw until the upper pulley clears the cog teeth by a few millimeters without rubbing. Wide-range 1x and modern Shimano cassettes are fussier about this gap than older narrow-range road setups, so it is worth a second look on a 12-speed mountain drivetrain.
How do you index a rear derailleur step by step?
Indexing is the part where the derailleur learns to drop the chain onto each cog at exactly one click. Mount the bike in a Pro Bike Repair Stand so you can turn the cranks and watch the drivetrain at eye level, then work the sequence below. If you don't own a stand, start with our guide on how to choose a bike repair stand.
- Confirm the hanger is straight. Before anything else, make sure the derailleur is secure on the hanger and the hanger is true. A bent hanger skews every cog position and no amount of barrel-adjuster work will fix it. Check and correct it with the Hanger Genie 2.0 Hanger Alignment Tool, then read our companion guide on how to straighten a bent derailleur hanger.
- Set the high limit. Think of the H limit as the derailleur's resting point with no cable tension. Relieve tension by turning the barrel adjuster in (clockwise), shift to the smallest cog, and adjust the H screw until the upper pulley sits directly under (or a hair outboard of) the smallest cog.
- Add cable tension. Spin the cranks and shift up one gear. If the chain is sluggish to climb or will not reach the next cog, you need more tension: turn the barrel adjuster out (counter-clockwise) a quarter-turn at a time until the shift completes cleanly.
- Listen and fine-tune. With the chain in gear, keep pedaling and listen. Chatter means the pulley is not lined up under the cog. Add or remove a quarter to a half turn at the barrel adjuster until the noise disappears and the pulley sits in line.
- Run the cassette. Shift slowly up and down through every gear. Each click should land one cog, both directions. If a few mid-cassette shifts lag, a final eighth-turn at the barrel adjuster usually settles them.
- Set the low limit. The L screw keeps the chain from shifting past the largest cog into the spokes, which can wreck a wheel. Carefully shift into the largest cog, then turn the L screw in until it just begins to add resistance against the derailleur's travel. Shift down and back up to confirm the chain still reaches the big cog, then try to overshift; set correctly, it should refuse.
Why does my indexing drift after a perfect bench setup?
Shifting behaves slightly differently under load than it does in the stand, so a derailleur that indexes flawlessly on the bench may want a small correction on the road. This is normal. New cables and housing also bed in over the first few rides, shedding a touch of tension as the housing compresses, which is why a fresh build often needs a quarter-turn of barrel adjuster a week in. Reach back, turn the adjuster a quarter-turn out, and you are back in tune. If the drift is large or sudden rather than gradual, suspect the hanger again or a contaminated cable rather than the index itself.
Clean cables and housing are the quiet half of good shifting. Grit and dried lube inside the housing add drag that masquerades as a tension problem, so when an adjustment will not hold, pull and inspect the inner cable before you keep chasing the barrel adjuster. The whole job is built on the same foundation: a straight hanger, a clean cable, and limits that stop the derailleur exactly where it should.
Once the back end shifts cleanly, the front derailleur is the other half of the job. Our guide on how to adjust a front derailleur runs the same kind of height, limit-screw, and cable-tension sequence for the chainrings.
Rear derailleur adjustment cheat sheet
| Job | Tool |
|---|---|
| Check and straighten a bent derailleur hanger | Hanger Genie 2.0 Hanger Alignment Tool or Hanger Genie 1602/2 |
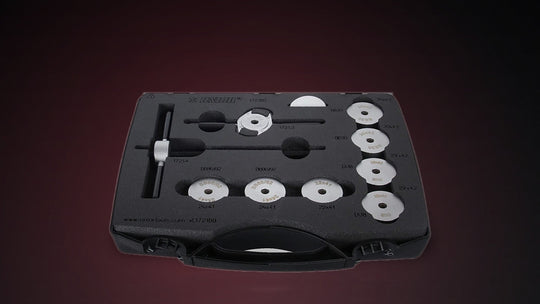
| Verify dropout and hanger faces are true and parallel | Dropout Alignment Gauges 1692/4 |
| Turn the H, L, and B-tension screws (2 mm hex) | 193HX T-handle hex set |
| Hold the bike at eye level to turn cranks and index | Pro Bike Repair Stand |
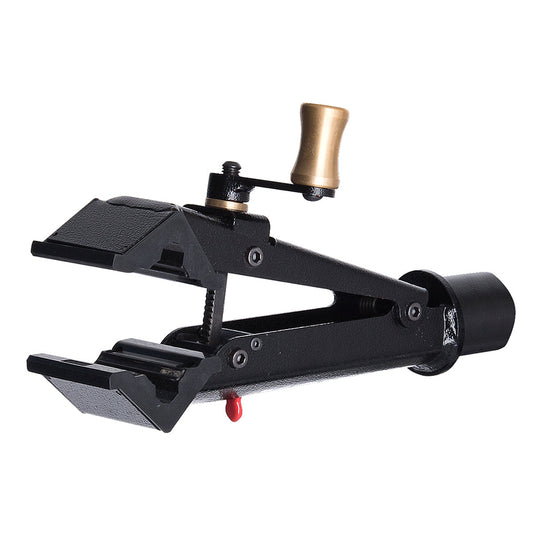
| Spread the rear triangle to swap a derailleur or wheel | Rear Triangle Spreader 1678/2BI-US |
Tools used in this guide
Straight from the article — no hunting through the catalog.
-
Hanger Genie 2.0 Hanger Alignment Tool
Regular price $149.99 USDRegular priceUnit price per -
 Sold out
Hanger Genie
Regular price $117.99 USDRegular priceUnit price per -
 Sold out
Dropout Alignment Gauges
Regular price $101.99 USDRegular priceUnit price per -
Rear Triangle Spreader
Regular price $139.99 USDRegular priceUnit price per