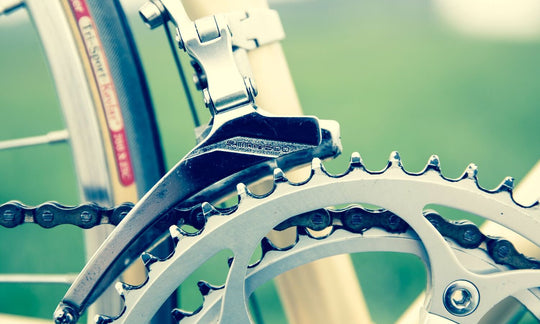
Disc brake pad maintenance

It's all well and good being able to go... but being able to stop on a bike is actually way more important. While that may seem a bit tongue in cheek, it's widely known that being able to 100% rely on your brakes means you can go faster.
Here's some guidance on how to keep an eye on your disc brake pads.
Here's some guidance on how to keep an eye on your disc brake pads.
Tools Needed:
- Flashlight (optional but can be helpful)
- A 5mm or 4mm hex wrench (usually) for brake adjustment
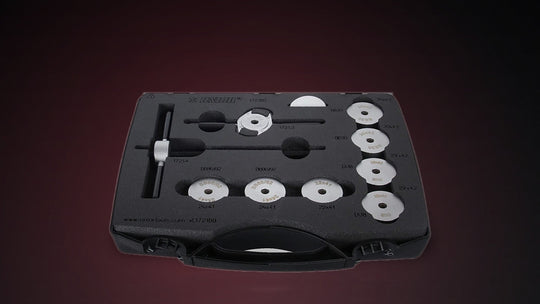
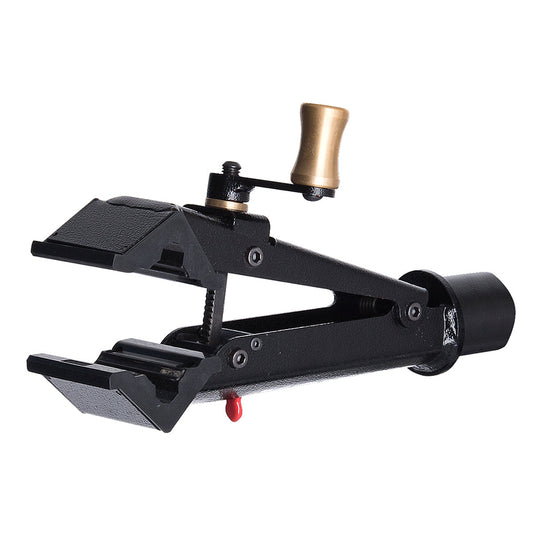
- A brake tool such as our 2-in-1 Disc Brake Tool
- Your eyes 👀
Steps for Brake Pad Inspection:
-
Prepare Your Workspace: Before you begin, make sure your bike is stable. You can do this by placing it in a bike stand. We don't advocate this but if you don't have a repair stand then flipping it over so it rests on the handlebars and saddle is better than nothing. Please take a moment to lay down a towel or something to protect your hoods/levers.
-
Check the Brake Pads:
- Examine the brake pads on both the front and rear brakes.
- Look for signs of wear and tear, which may include:
- Pad Thickness: Compare them to a new set, do they look worn?
- Uneven Wear: Check for uneven wear on the pads. Pads should wear evenly. If you notice one part of the pad is significantly more worn than the rest, it may indicate a problem with your brakes.
- Glazing: If the pads look shiny and glazed, they might not grip effectively. In this case, you can try sanding the pads lightly or replace them. We would tend to recommend straight replacement then a proper bedding in procedure.
-
Cracks or Damage: Inspect the pads for cracks, chips, or other damage. If you find any, replace the pads.
-
Caliper Alignment:
- Check the alignment of the caliper so your pads are effectively doing their job. Is it straight with the rotor? This is where your flashlight is useful - use it to see the gaps either side of the rotor in relation to your pads.
- If you see that they are not aligned correctly then follow your caliper manufacturers instructions on how to do this as each system has slight differences. You would be advised to use our 2-in-1 Disc Brake Tool for this. Drop the wheel out of the bike then use the tool to push your pads to where they should be. Then place the wheel back in and activate the brake to see where the pads end up.
-
Test the Brakes:
- After you've inspected and, if necessary, adjusted the brake pads, take your bike for a short test ride.
- Test the brakes to ensure they engage smoothly and evenly. If the brakes feel spongy or uneven, further adjustment may be required.
-
Regular Maintenance:
- Regularly check your brake pads, especially before extended rides or after any crashes or significant impacts.
- It's a good practice to replace brake pads as soon as they approach the wear limit to maintain consistent and effective braking performance.
Remember that proper brake pad maintenance is essential for your safety, and if you have any doubts about your ability to inspect or adjust your brake pads, it's a good idea to consult a professional bike mechanic who can ensure your brakes are in top condition.
You can buy replacement premium quality pads from us here: Sinter Brake Pads