Avoid Seized Parts
The parts that seize first — seatposts, pedals, pinch bolts — and the grease, prep, and washing habits that keep winter grime from welding them in place.
Winter and sometimes spring are hard on bikes. It’s tough to motivate yourself to give them a good wash after a ride when you’re wet and can’t feel your fingers, so parts often stay wet. Add salty roads or trail grime into the mix and you’ve got a recipe for things seizing. Here we’re going to go over a few common things that get stuck, and how to avoid that happening.
Nothing fills our hearts with dread like a seized seatpost. If you don’t run fenders there’s a good chance you’ve been constantly subjecting yours to water ingress over the wetter months. Before you remove it, remember to mark the height so you don’t have to adjust after you reinstall. Simply remove the post, give it a good clean (degreaser and a rag works well) and reapply a generous coating of anti-seize grease to avoid it welding itself into your frame over the next six months. If you’ve got time it’s worth giving the inside of the frame the same treatment as best you can. If the seatpost or the frame is carbon, leave out the grease and anti-seize: carbon makers rule out grease on that joint and call for a carbon assembly paste or a clean, dry fit, so use what your bike’s manual specifies.
Next up is the bottom bracket, also the victim of near constant spray in the wet. If you run a high quality sealed unit the bearings may feel totally happy, but there’s still a chance of the threads seizing in the frame without an occasional bit of TLC. Remove your crankset, and unscrew your B.B, remembering that the drive side is reverse threaded so loosens clockwise. Give the threads a good clean, both in the frame and on the bottom bracket itself, and reinstall with plenty of grease to the correct torque. Press fit systems have no threads, but they don’t go in dry either: SRAM’s press-fit instructions start by greasing each cup before it is pressed into the frame, so follow your bottom bracket maker’s instructions.

The most common stuck component we come across is pedals. For most of us they’re a fit and forget item, but even with fenders there’s no way to protect them from the elements. Again, there’s nothing more to this than removing, cleaning, greasing and reinstalling but remember that the left pedal is reverse threaded and so loosens clockwise. A tip is with your tool pointing upwards you turn it towards the rear of the bike to uninstall. Finally, make sure you always shift the chain into your largest chainring; pedals have a habit of coming unstuck suddenly and you really don’t want your hand flying towards those teeth.

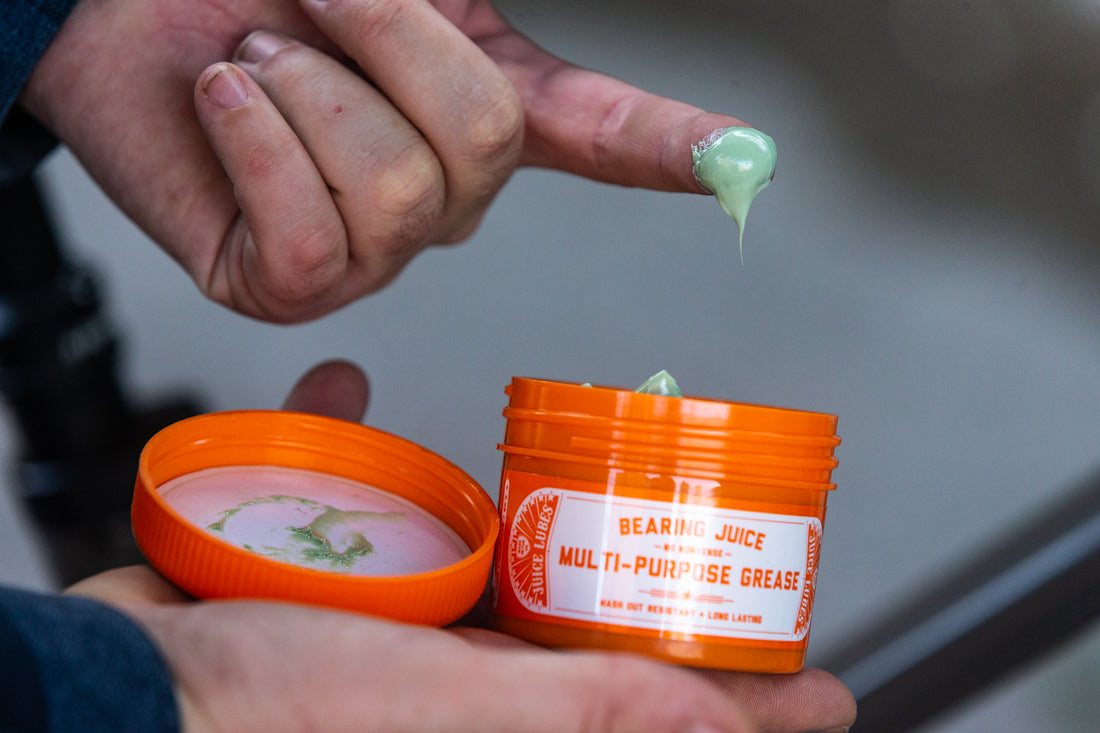
It's important to keep in mind the difference between anti-seize and grease. Anti-seize doesn't really have any lubricative properties so it's not going to do much good inside your bearings. Grease, on the other hand, is essentially a lubricant held in suspension. In other words, it's great for bearings. In a nutshell you'll want to reach for an anti-seize for threaded parts, press-fit parts, and slip-fit parts. If it's supposed to spin, like the inside of a cartridge bearing, grab the grease.