How to Measure Bike Chain Length the Right Way
A workshop guide to sizing a bike chain: the big-big plus one inch method, the largest-cog method for 1x, how derailleur capacity and full suspension change the math, and how to break to length and reconnect cleanly.
On this page
To measure bike chain length the right way, run the chain around the largest chainring and the largest cog without threading it through the rear derailleur, pull the two ends together until they meet, and add one full inner-plus-outer link (about one inch) past that point. Break the chain there and that is your length. The big-big plus one inch method is the standard sizing rule for modern derailleur drivetrains, and it works whether you are on a road double or a 1x mountain bike. There is a second method for the cases where it does not, and the rest of this guide covers when each applies, how derailleur capacity and rear suspension change the math, and how to break the chain to length and reconnect it cleanly.
Sizing a chain wrong is one of the few errors that ruins parts you did not touch. A chain cut too short jams the derailleur cage solid the moment you shift into big-big and can tear the hanger off. A chain cut too long sags, slaps the stays, and shifts lazily because the cage cannot take up the slack. Neither shows up on the stand. Both show up on the first real ride.
What is the big-big plus one inch method?
The big-big plus one inch method sizes the chain by wrapping it around the largest chainring and the largest rear cog, then adding one link past the point where the ends meet. It is the method we reach for on the bench for most current drivetrains.
It works because the longest the chain ever has to be is when it sits on the biggest ring and the biggest cog at once. That is the maximum chain path. Size the chain to reach around that combination with enough slack for the derailleur to tension it, and every other gear is shorter, so the derailleur takes up the difference. The extra inch is what keeps the cage from bottoming out.
In our practice this covers the large majority of road, gravel, and hardtail mountain builds. Use it when:
- The frame has no rear suspension, or the suspension does not change the chainstay length as it compresses.
- You are running a standard rear derailleur, not a one-piece direct-mount transmission with its own sizing tool.
- The drivetrain is a familiar speed class. Chains are speed-specific; an 11-speed chain on a 12-speed cassette shifts poorly or skips, so confirm you are fitting the right chain before you size it.
A note on why it is one inch and not some other amount: a chain repeats every inch because the pin pitch is fixed at 12.7 mm, which is half an inch, so one inner link plus one outer link equals one inch. SRAM's AXS Flattop chains keep that same 12.7 mm pitch, so they size and break on the same grid as any conventional derailleur chain even though the plate profile is different.
When should you use the largest cog method instead?
Use the largest cog method when you are running a single chainring and want a tighter, more repeatable result than wrapping around two large sprockets gives you. Wrap the chain around the largest cog and the chainring without going through the derailleur, find where the ends overlap, and add one inner-and-outer link pair.
The two methods agree on most 1x setups, but this is the one we lean on for 1x mountain and gravel bikes because there is no large-large extreme to size against, only the single ring. It also removes a common error: a 1x bike has no front derailleur cage to clear, so the big-big wrap is sizing against a chainring combination the bike does not have.
For drivetrains that ship with a manufacturer sizing procedure, that procedure wins over either rule of thumb. Some current direct-mount mountain transmissions are sized to a setup cog with a dedicated gauge. When the maker publishes a number, size to the number.
How do derailleur capacity and full suspension change the math?
Derailleur capacity and rear suspension both change how much chain the system has to swallow, and ignoring either is how a correctly-wrapped chain still ends up the wrong length.
Total capacity is the chain slack a rear derailleur can take up across the full gear range: the difference between your largest and smallest cog, plus the difference between your largest and smallest chainring on a 2x. If the spread exceeds the derailleur's rating, no chain length is perfect. Size for the big-big combination so you never jam, and accept that the smallest-smallest gear will sag, which we do not recommend riding anyway since the chain crosses hard.
Full suspension adds a second variable. On many designs the distance from the bottom bracket to the rear axle grows as the suspension compresses, pulling more chain into the rear triangle exactly when the wheel hits something. Size the bike at the point of its longest chainstay, not at rest. The way we do it: let the air out of the shock, push the swingarm through its travel to find where the rear axle sits farthest from the bottom bracket, and size big-big plus one inch there. A chain sized only at sag can come up tight at full compression and load the derailleur or the hanger.
How do you break a chain to length and reconnect it?
Once you know where the chain needs to end, breaking it to length is a quick bench job with a chain tool that supports your chain, and reconnecting it is either a master link or a fresh pin depending on the chain. Here is our practice, in order:
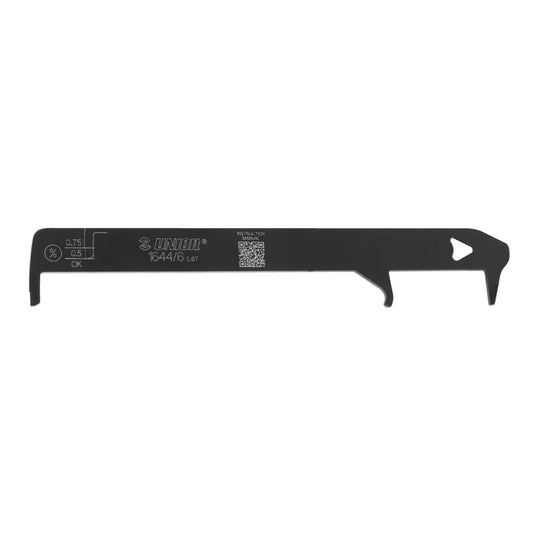
- Confirm the chain actually needs replacing before you cut anything. Drop a chain wear gauge over the worn chain: 0.5% elongation is the replacement threshold for 11- and 12-speed, 0.75% for 10-speed and below. Past 1.0% the cassette is usually deformed too, and a fresh chain will skip on it.
- Size the new chain against the old one if the old one was correct. Lay the new chain beside the old, match the link count, and you have skipped the wrapping step. If the old chain was wrong or missing, wrap big-big plus one inch as above.
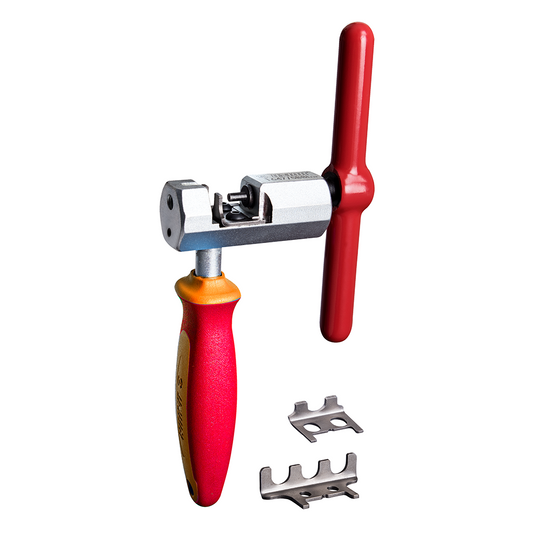
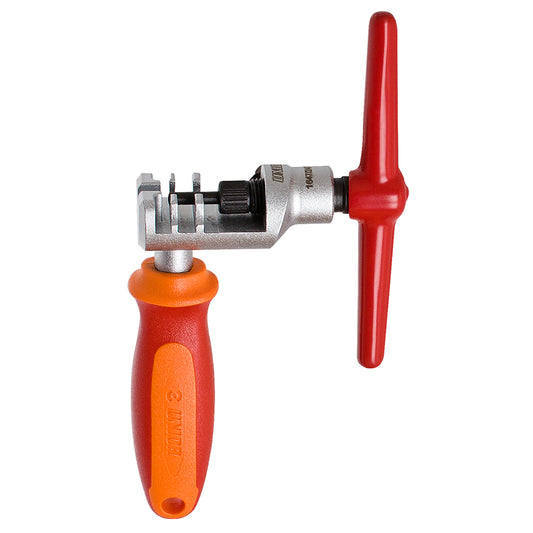
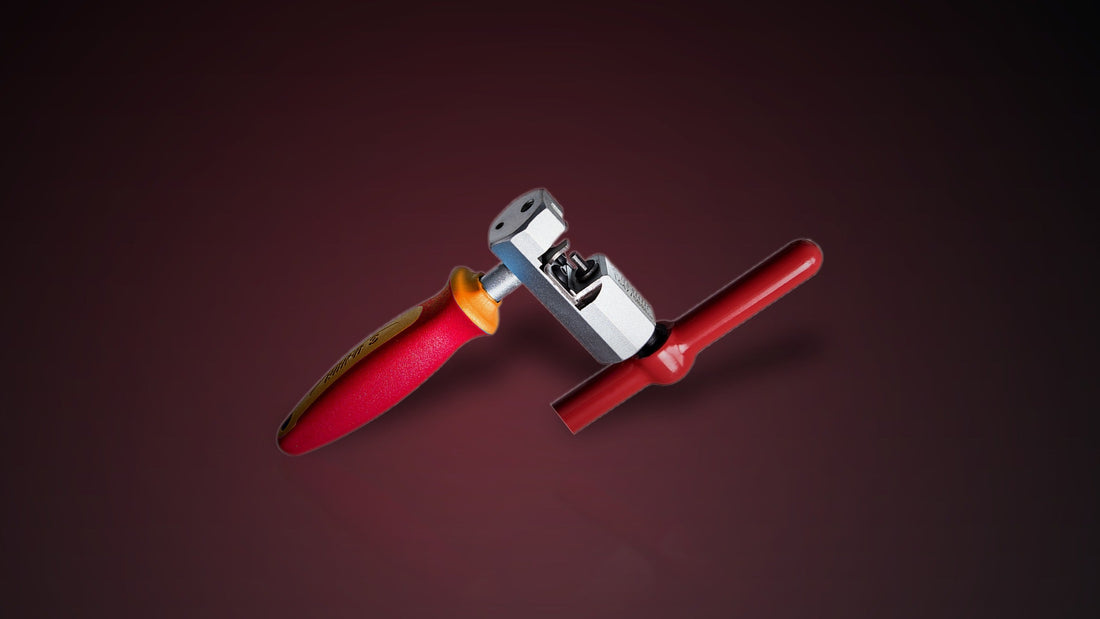
- Set the chain in the tool's support cradle squarely. Make sure the cradle matches your chain. A derailleur chain wants a 3/32 inch support; a singlespeed or BMX 1/8 inch chain needs a wider one. The Master Chain Tool ships with the inserts to cover both, plus a dedicated support for SRAM AXS Flattop chains.
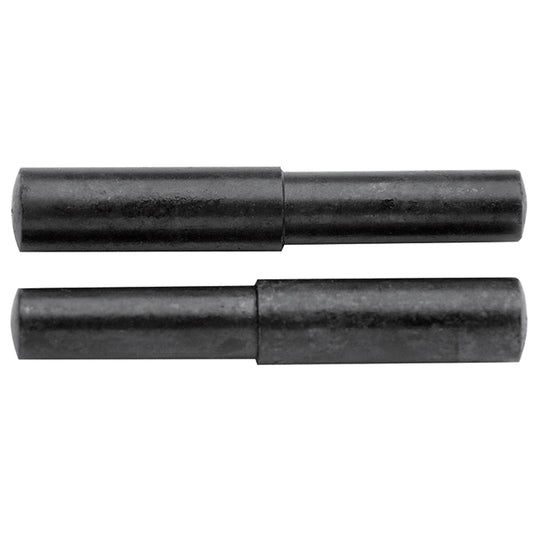
- Drive the pin out at the link you are cutting. Turn the handle steadily until the rivet clears the outer plate. On a chain that closes with a master link, push the pin all the way out and discard the section. On a Shimano chain that reconnects with a fresh joining pin, leave a few millimeters of rivet engaged so the new pin has something to seat against.
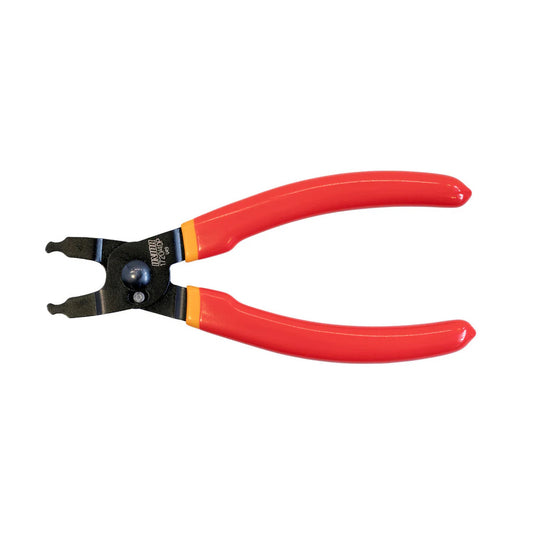
- Reconnect. For a master-link chain, seat the two halves of the link and snap it closed; master-link pliers make that one-handed and let you remove the link again next service. For a pin-reinstall chain, drive a new joining pin through from the back, then snap off the guide tip flush.
A word on which reconnection you get. Modern Shimano and SRAM 11- and 12-speed master links are single-use; reusing one risks it backing out under load, so we replace them rather than reopen them. Shimano derailleur chains that use a joining pin always want a new pin, never the old one driven back in. Campagnolo's classic pin needs to be pressed and peened with the dedicated Campagnolo tool, which is a different job from a standard reinstall. When in doubt, a fresh master link or a fresh pin is cheap insurance against a chain that opens on a climb.
For high-volume benches and stubborn chains, the Professional Chain Tool drives pins with less hand effort, though it does not carry the 1/8 inch or Flattop support inserts the Master Chain Tool does. Pick the breaker by the chains you actually service.
Cheat sheet: which sizing method and which tool
| The job | Drivetrain type | Method or tool |
|---|---|---|
| Size a new chain, geared bike | Road / gravel / hardtail, 1x or 2x | Big-big plus one inch |
| Size a new chain, single ring | 1x mountain or gravel | Largest cog plus one link |
| Size a new chain, suspension | Full-suspension MTB | Big-big plus one inch at longest chainstay |
| Size a new chain, direct-mount transmission | Modern 1x transmission with setup gauge | Manufacturer setup procedure |
| Confirm the old chain is actually worn | Any | Chain Wear Indicator 1644/6 |
| Break a chain to length, mixed fleet | Derailleur, singlespeed, BMX, Flattop | Master Chain Tool 1647/2BBI |
| Break a chain to length, shop volume | Derailleur (3/32 inch) | Professional Chain Tool 1647/2ABI |
| Reconnect with a master link | Master-link chain | Master Link Pliers 1720/4DP |
| Reconnect with a joining pin | Shimano pin-reinstall chain | Replacement Chain Tool Pins 1647.1/4A |
Unior has been forging hand tools in Zreče since 1919, and is the official technical partner of multiple World Tour and downhill teams. The Master Chain Tool's modular insert system is Unior's own design, which is why one tool sizes and breaks the whole range of chains a mixed shop sees, from a kid's 1/8 inch singlespeed to a current Flattop road chain. Measure against the right method, break to length, reconnect with the joint the chain was built for, and the derailleur and hanger stay out of the conversation.
Tools used in this guide
Straight from the article — no hunting through the catalog.
-
Master Chain Tool
Regular price $109.99 USDRegular priceUnit price per -
Master Link Pliers
Regular price $24.99 USDRegular priceUnit price per -
Chain Wear Indicator
Regular price $19.99 USDRegular priceUnit price per -
Replacement Chain Tool Pins
Regular price $2.99 USDRegular priceUnit price per -
Professional Chain Tool
Regular price $49.95 USDRegular priceUnit price per