The Fall Bike Check-Up: Measure What Summer Took
Six checks that tell you what a summer of riding took: chain stretch, rotor thickness, pads, tires, bearings, and bolts, each with a number to trust.
On this page
- Start with the chain: the cheapest part protects the rest
- Rotors: find the number stamped in the steel
- Brake pads: compare against new, not memory
- Tires and sealant: look for what the season baked in
- Wheels and bearings: feel for play before it becomes damage
- Bolts: verify, don’t guess
- Pro tip from our mechanics
A summer of riding does not announce what it wore out. The chain that shifted cleanly in June is quietly longer by September, and the rotors that stopped you all season are thinner than they look. None of it needs guesswork, because every wearing part on a bike carries a number you can hold it against. This end-of-season checklist covers six systems in the order we work a bike on the stand, so you know what survived the season and what to replace before the best fall riding starts.
| Check | The verdict | What measures it |
|---|---|---|
| Chain | Replace an 11- or 12-speed chain at 0.5% elongation | Chain wear indicator |
| Rotors | Replace at the minimum thickness stamped in the steel | Go/no-go rotor gauge |
| Brake pads | Replace as material approaches the wear limit | Eyes, against a new set |
| Tires and sealant | Replace at cord-deep cuts; refresh dried sealant | Eyes and fingers |
| Wheels and bearings | Adjust or service at any detectable play | Hands |
| Bolts | Reset to the published Nm value | Torque wrench |
The whole pass takes our mechanics about fifteen minutes when nothing is wrong. When something is wrong, you want to learn it now: fall is when replacement parts are in stock and the weather still forgives a bike spending a night on the stand.
Start with the chain: the cheapest part protects the rest
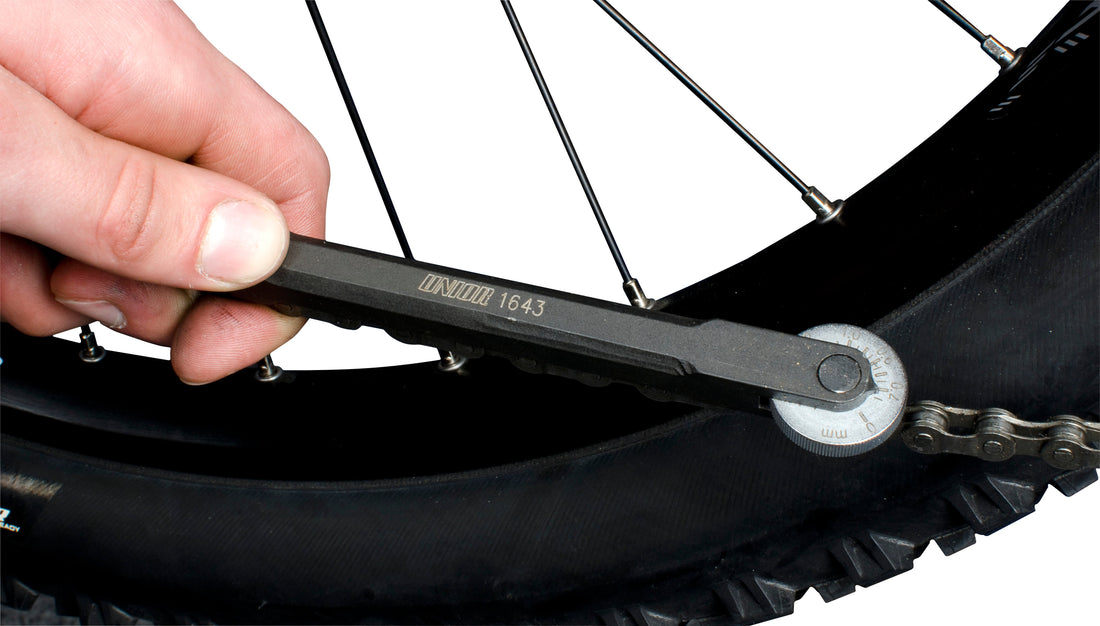
Chain wear is elongation. Each pitch, the 12.7 mm spacing between rivets, grows as pins and bushings wear, and the chain slowly stops matching the teeth it runs on. The general rule puts the limit for a narrow 11- or 12-speed chain at 0.5% of that growth, while 10-speed and older drivetrains tolerate 0.75%. Chain makers set their own figures, and SRAM's is 0.8%. The margin matters because wear flows downstream. Ride a 12-speed chain to 0.75% and it has usually re-cut the cassette teeth to its own longer pitch, so the fresh chain you eventually fit will skip on them. Catch it at 0.5% and the cassette usually lives. Our chain replacement guide covers the swap itself.
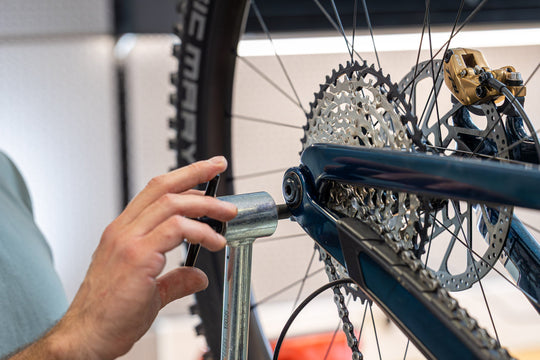
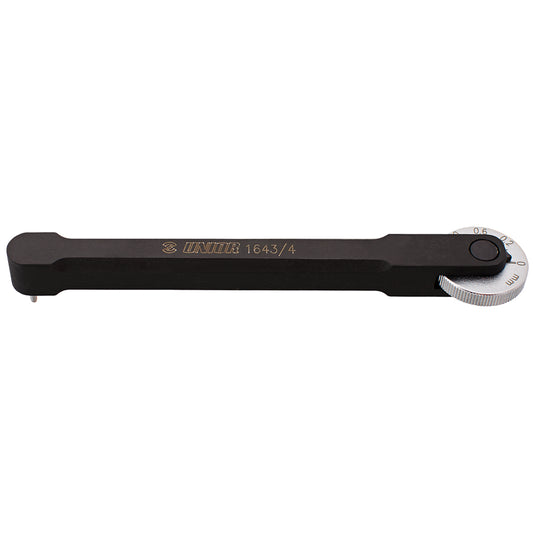
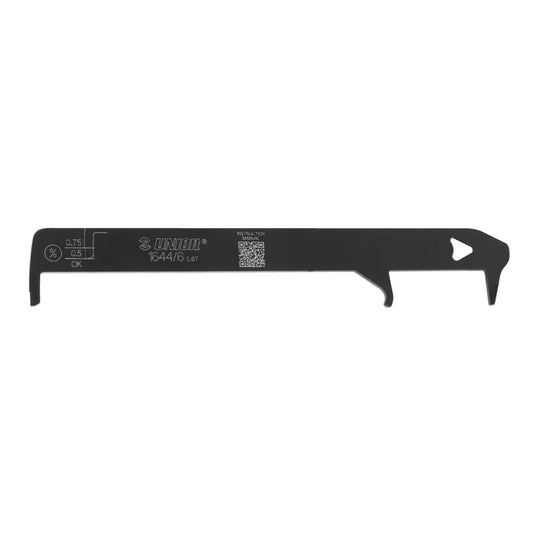
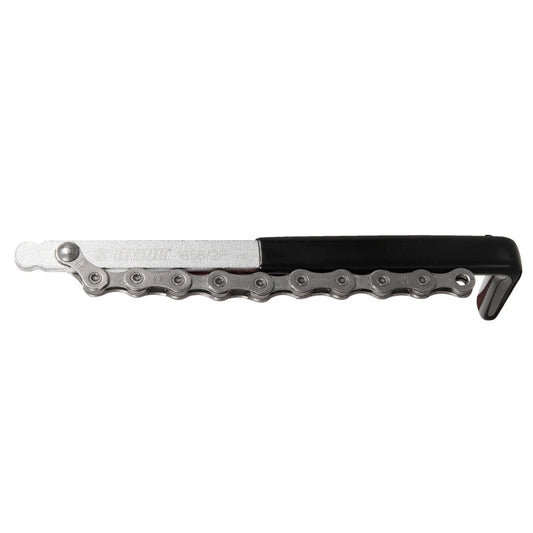
The measurement takes seconds. The Professional Chain Wear Indicator 1643/4 is the dial version: it reads elongation continuously rather than pass or fail, so a September reading also tells you whether the chain has enough left for the fall. The two-sided 1644/6 reads the 0.5% and 0.75% thresholds directly. No gauge on hand? Twelve links of a healthy chain span twelve inches pin to pin, and growth beyond that is wear a ruler can see. If the chain is already past its limit, check what it was running on with a sprocket wear indicator or the skip test in our cassette guide.
Rotors: find the number stamped in the steel
Disc rotors thin with every stop, because the pads remove a trace of metal at the wear track each time they clamp. Every rotor maker publishes a minimum thickness, and most stamp it on the rotor itself. Below that number the rotor is out of service spec no matter how it looks. The common minimums sit close together:
| Rotor | Published minimum |
|---|---|
| Shimano / Hope | 1.5 mm |
| SRAM 1.85 mm rotors (CenterLine) | 1.55 mm |
| SRAM 2.0 mm rotors (HS2) | 1.7 mm |
| Magura | 1.8 mm |
| TRP / Tektro | 2.0 mm |
| Magura MDR-S 2.5 | 2.1 mm |
Your rotor’s own stamp is the authoritative number; when in doubt, believe the steel. For the per-brand limits and how to read a worn rotor, see when to replace disc brake rotors.
The Rotor Wear Indicator turns the check into a yes-or-no answer with six laser-cut slots, one per published minimum. Offer the matching slot to the wear track, the polished band the pads sweep. A rotor that stays out of its slot is still in service; a rotor that drops in has reached the minimum and gets replaced. Check the wear track rather than the outer edge, because the unworn lip reads thick and lies to you. A rotor typically crosses its minimum somewhere in two to four years of regular riding, sooner under heavy loads or long descents. And always measure before you true: a bent rotor that is also under minimum is a replacement, not a repair.
Brake pads: compare against new, not memory
Pad wear hides well because braking fades gradually. Pull the pads, or sight into the caliper with the wheel out, and compare the remaining material against a fresh set instead of against your memory of one. Even wear across the pad face is normal aging. One pad or one edge wearing faster points at caliper alignment, and that diagnosis belongs to our disc brake rub guide. Replace pads as the material approaches its wear limit rather than after the lever already feels wooden; disc brake pad maintenance covers the inspection habit, and fresh pads want a full bedding-in procedure before they deliver real power. Here is where the rotor check pays twice: bedding new pads into a rotor that is due for replacement is a job you will only repeat.
Tires and sealant: look for what the season baked in
Tires report their summer honestly. Look for cuts deep enough to show casing cord, threads surfacing at the sidewall, and a crown worn flat where a round profile used to be. Any of those is a replacement, not a patch. On tubeless setups, our mechanics find sealant that went in during spring is usually a dry film by fall, still coating the casing but no longer able to close a puncture. Pop a bead or pull the valve core and confirm liquid still moves in there. Top-ups go in through the valve with the core removed, and the full workflow lives in our tire guide, right down to seating a stubborn bead.
Wheels and bearings: feel for play before it becomes damage
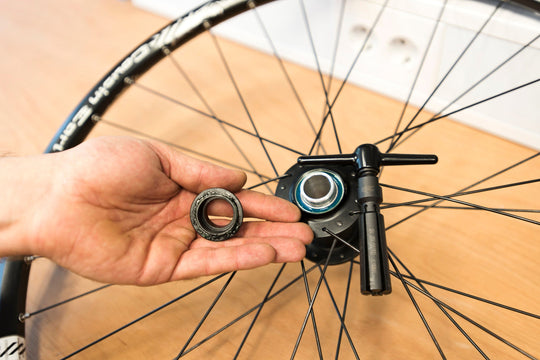
The standard is strict and simple: any play you can detect by hand is too much. Two hand checks find most of what has loosened. Spin each wheel and watch the rim pass a fixed point on the frame; a wobble that grew over the season is a truing job, and how to true a bike wheel walks through it. Then grab the rim and rock it side to side. Movement there is play in the hub or a loose thru-axle, and play left in place hammers bearing races into damage that no adjustment can recover. For the headset, hold the front brake, rest a hand on the upper cup, and rock the bike fore and aft: a knock under your fingers means lost preload or a dry bearing. The services behind both diagnoses live in our bearing and headset guide.
Bolts: verify, don’t guess
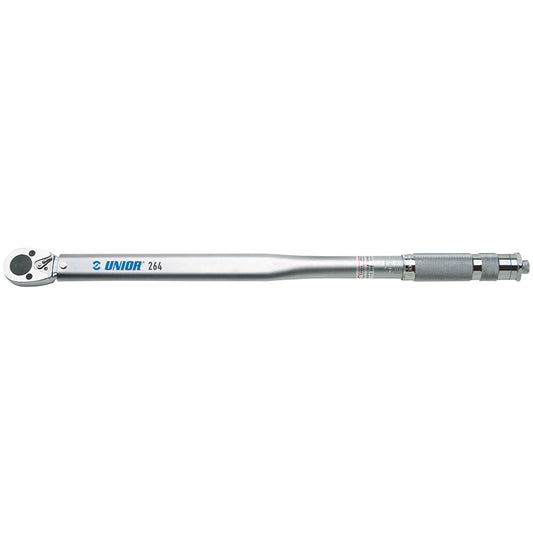
A summer of vibration works on every fastener, and the answer is not re-tightening by feel. A fastener fails in both directions: too loose works free, too tight crushes carbon and strips small threads, and a hand on a wrench cannot sense either coming. Set a torque wrench to each critical bolt’s published value and confirm it holds. Stem and cockpit hardware sits in the low single digits of Nm on most bikes, brake hardware varies by maker, and the big drivetrain fasteners run far higher. The number printed on the part or published by its maker beats any generic figure, and our bike bolt torque chart collects the common values with exactly that caveat attached. A slipper torque wrench covering 2–24 Nm spans the cockpit band where the expensive mistakes happen.
Pro tip from our mechanics
Write the numbers down. A check-up produces readings: the chain’s elongation, which rotor slot came close. Note them where you will look next season, because wear rates are personal; they track how much you weigh and where you ride. After two check-ups you stop wondering whether parts wear out and start knowing when yours do, which turns winter into the season you order parts instead of the season you discover you needed them. The habit extends to fasteners too; our torque wrench guide makes the case for a recorded setting over a remembered one.
Unior has been forging hand tools in Zreče, Slovenia, since 1919. A wear gauge is that history at its plainest: laser-cut steel that ends an argument with a measurement, whether the bench is in Zreče or in your garage in September.
Tools used in this guide
Straight from the article — no hunting through the catalog.
-
Professional Chain Wear Indicator
Regular price $29.99 USDRegular priceUnit price per -
Rotor Wear Indicator
Regular price $14.99 USDRegular priceUnit price per -
Chain Wear Indicator
Regular price $19.99 USDRegular priceUnit price per -
Sprocket Wear Indicator
Regular price $24.95 USDRegular priceUnit price per -
 Sold out
Slipper Torque Wrench 2 to 24Nm
Regular price $114.99 USDRegular priceUnit price per -
Metal Tire Levers
Regular price $29.99 USDRegular priceUnit price per -
Cone Wrench
Regular price From $9.00 USDRegular priceUnit price per



Frequently asked questions
What should I check on my bike at the end of summer?
Six systems, in this order: chain elongation, rotor thickness, brake pad material, tire casing and sealant condition, bearing play, and bolt torque. Each one has a published limit or a clear hand test, so the whole review runs on measurements rather than guesses. Work through them in that order and nothing gets missed.
How long does a bike check-up take?
About fifteen minutes on a healthy bike, in our mechanics’ hands. The chain and rotor measurements take seconds each with the right gauges; the slower parts are pulling pads for a proper look and confirming bolt torques. Budget a full evening only when a check turns into a repair.
Can I check my bike for wear without special tools?
Partly. A ruler catches gross chain wear, because twelve links of a healthy chain measure twelve inches pin to pin. Pads, tires, and bearing play are eye and hand checks. Rotor thickness is the exception: worn rotors look normal, so calling one takes a gauge or calipers. Torque needs a torque wrench by definition.
Should I replace the chain and cassette at the same time?
Only when the chain was left on too long. A chain swapped at 0.5% elongation usually leaves the cassette serviceable, so you replace one part instead of two. If a new chain skips under load on the old cassette, the worn chain has already re-cut the teeth and the cassette needs to go too.
How often should rotor thickness be checked?
Every time the pads come out, and at least once a season. A pad change is the natural moment because the caliper is already apart and the wear track is easy to reach. Between checks, the minimum stamped on the rotor is the number to remember; at or below it, the rotor gets replaced no matter how it looks.