How to Bleed Disc Brakes: A Shimano and SRAM Walkthrough
Bleed Shimano mineral-oil and SRAM DOT disc brakes step by step, with the one rule that saves your seals: match the fluid to your brake before you start.
On this page
A hydraulic disc brake should feel firm and bite in the same place every time you pull the lever. When it goes soft, when the lever drifts closer to the bar than it used to, or when the bite point wanders ride to ride, there is usually air in the line.
Bleeding the brake flushes that air and the tired fluid out and gives you back a firm lever. Shimano and the other mineral-oil brakes do it with a gravity funnel bleed; SRAM and the other DOT brakes use a two-syringe push bleed. The step that matters most comes first: match the fluid, mineral oil or DOT, to your brake, because mixing the two destroys the seals and there is no coming back from it.
This is the procedure our shop works through for the two systems that cover most bikes on the road and trail, Shimano on mineral oil and SRAM mostly on DOT. SRAM muddies its own water, because a few of its newer brakes run mineral oil, so confirm your specific brake rather than assume by maker.
Get the fluid right before you open anything
Hydraulic brakes run on one of two fluids, and they are chemically different. Mineral oil systems and DOT systems use different seals, and the wrong fluid swells and destroys them. Put DOT through a Shimano caliper, or mineral oil through a SRAM Code, and you are usually buying new brakes.
So confirm what your brake takes first:
- Mineral oil: Shimano, Magura, Campagnolo, Tektro and TRP, and Formula's Cura. SRAM also runs mineral oil in its newer brakes, the DB8, Maven, and Motive, which is the exception people miss because they assume anything SRAM takes DOT.
- DOT fluid: most of SRAM's lineup, including Code, Guide, and Level, plus Avid, Hayes, Hope, and most Formula brakes.
Two more rules to keep straight. Use DOT 4 or DOT 5.1, never DOT 5; DOT 5 is silicone-based and will swell the seals in a system built for glycol fluid. And remember that DOT is hygroscopic, meaning it slowly pulls moisture out of the air over months. That water lowers the boiling point, which is why a DOT brake wants fresh fluid on a schedule even when it feels fine. Mineral oil does not absorb water, so it can sit until heat or contamination forces a change. DOT is also hard on paint, so wipe spills off your frame fast.
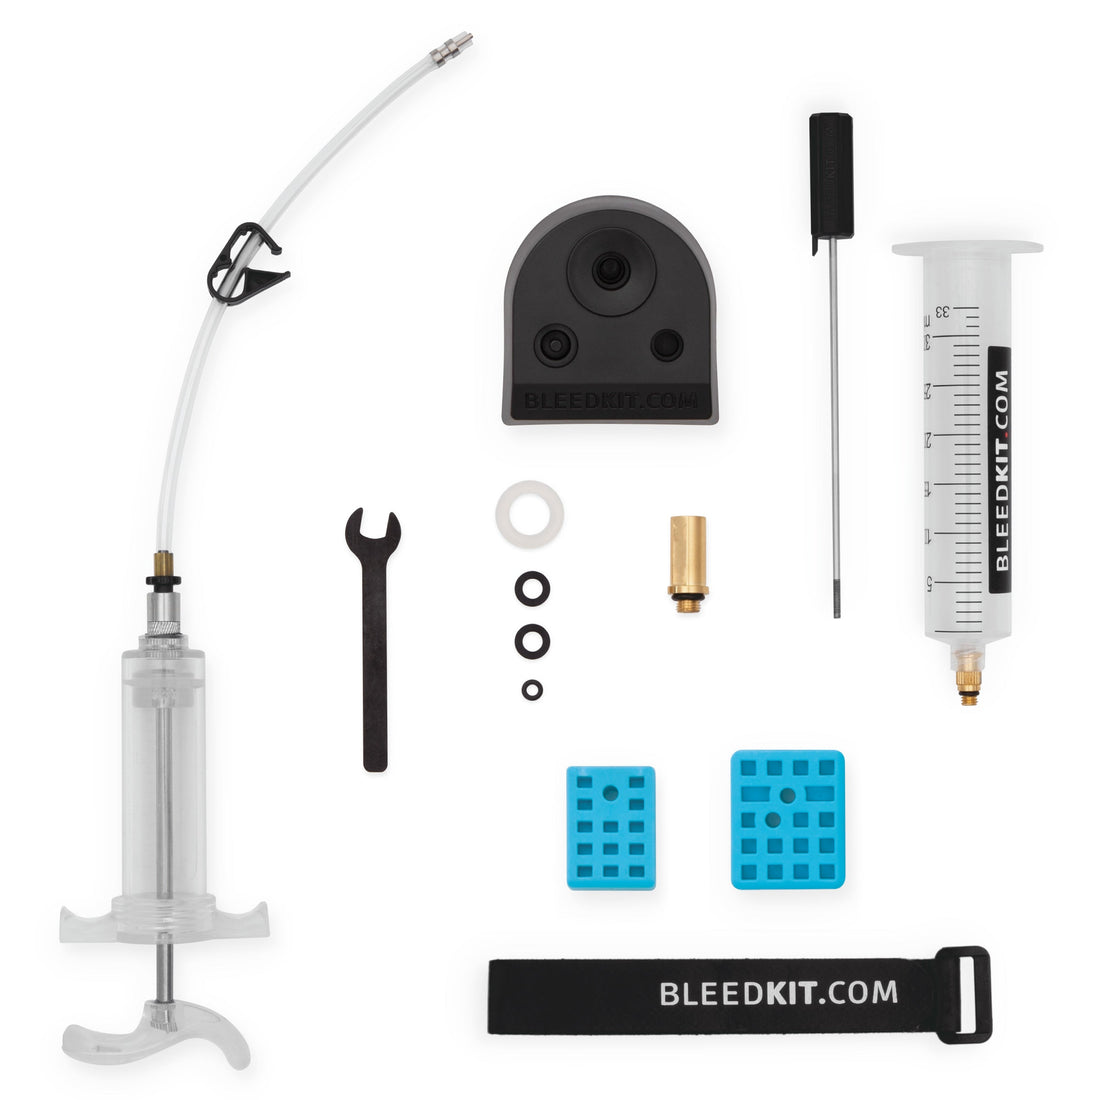
We stock Bleedkit.com kits matched to each system, Shimano, SRAM in both mineral and DOT form, Magura, TRP and Tektro, and Formula Cura, alongside the fluids themselves. If you are not sure which kit fits a current groupset, our companion guide to which bleed kit fits current Shimano road brakes and SRAM Maven walks through the funnel and block differences that catch people out.
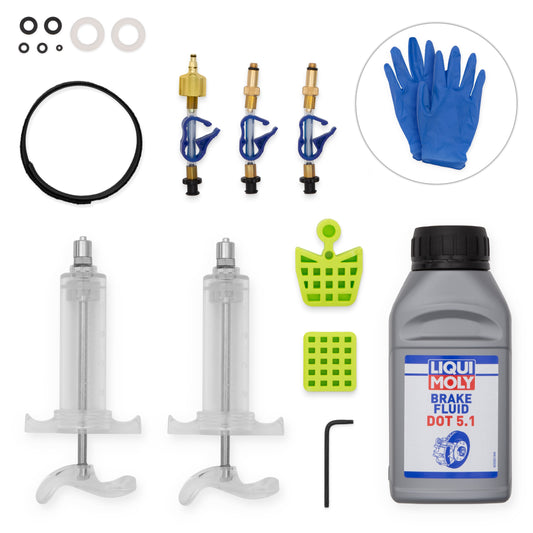
What you need on the bench
Gather everything before you crack a single fitting, because a half-finished bleed that runs dry pulls air straight back into the line:
- The correct bleed kit for your brand, with the right funnel, adapter, or syringes.
- Fresh fluid of the correct type, and enough of it.
- A bleed block, or the old pads with a spacer, to hold the caliper pistons in place.
- A 7 mm wrench for Shimano bleed nipples, or the Bleeding Edge fitting and a T10 Torx key for SRAM. A sloppy driver rounds a soft bleed nipple fast, so it pays to use the right wrench for hydraulic disc brake service.
- Nitrile gloves, safety glasses, isopropyl alcohol, and a stack of clean rags.
- A repair stand so you can level the lever and stand the caliper as the job needs.
Take the wheel out and remove the pads, then fit the bleed block. This does two things: it stops a stray push on the lever from forcing the pistons out, and it keeps fluid away from the pads. Treat pad contamination as a replacement job, not a cleaning job. Once oil or DOT soaks into the pad material, no amount of scrubbing brings it reliably back, and a contaminated rotor needs a hard clean with isopropyl before it is safe.
Bleeding Shimano and other mineral-oil brakes
Shimano's funnel method uses gravity. You open the top and the bottom of the system, let fresh oil fall down through it, and watch the air rise back up and out.
- Level the brake lever in the stand so the bleed port sits at the high point. Thread the funnel onto the port finger-tight, using the correct adapter if your groupset needs one. Mind the thread size while you are at it: Shimano road levers take either an M5 or an M7 bleed-port funnel depending on the lever, so confirm which yours uses and fit the matching funnel before you force anything. Quarter-fill it with fresh mineral oil.
- At the caliper, slip a length of hose over the 7 mm bleed nipple and run it into a catch bottle, or connect your kit's syringe. Crack the nipple an eighth to a quarter turn.
- Gently push oil up from the caliper syringe, or work the lever in slow strokes, and watch the funnel. Bubbles rising into it are the air leaving the system, which is what you want. Tap along the hose, the caliper body, and the lever to shake loose any air clinging to a corner.
- Keep the funnel topped up the whole time. The moment it runs dry it feeds air back in and you start over.
- When the bubbles stop, close the nipple, work the lever a few times to check the feel, then plug the funnel with its stopper, lift it off, and refit the bleed-port screw with its O-ring.
The same funnel-and-gravity approach covers Magura, Tektro, TRP, and Formula's Cura, with the brand's own funnel adapter and its own mineral oil. The method is the same; the fittings are not.
Bleeding SRAM and other DOT brakes
SRAM's Bleeding Edge system uses two syringes and moves fluid through the brake under light pressure rather than gravity. Glove up, put your safety glasses on, and work somewhere ventilated before you start, because DOT is unkind to skin, eyes, and frame paint, and it can spray if a fitting lets go under pressure. If any gets in your eyes, flush them with water for 15 to 20 minutes and seek medical help.
- Fill the lever syringe between half and three-quarters full with DOT 5.1 (DOT 4 also works), and the caliper syringe about a quarter. Hold each upright, pull the fluid back to gather the air at the top, tap the side, and push that air out so you are working with fluid only. Close both clamps.
- Remove the lever bleed screw with a T10 Torx key and thread the lever syringe in. Attach the caliper syringe to the Bleeding Edge fitting and open the fitting one full turn.
- Push fluid down from the lever syringe into the caliper, watching the old fluid and air move ahead of it and gather in the caliper syringe. Always work in that direction, lever to caliper. Do not push up from the caliper syringe, because the pressure can pop the Bleeding Edge fitting loose and spray DOT across your frame. Keep going until roughly a quarter of the fluid is left in the lever syringe and the caliper syringe holds most of it.
- Now work the lever side. Pull back on the lever syringe to draw a vacuum, hold it a couple of seconds, then push to pressurize, and repeat the cycle. You will see a stream of micro-bubbles cascade out of the lever internals, which a gravity bleed never reaches.
- Close the Bleeding Edge fitting snug, remove the caliper syringe first, then the lever syringe, and refit the bleed screw with the T10 key.
This is the procedure for SRAM Code, Guide, and Level brakes from 2017 on. SRAM's newer Maven, DB8, and Motive use the same two-syringe Bleeding Edge method, but they take SRAM mineral oil rather than DOT, so reach for the mineral kit and Maxima oil on those and keep the DOT well clear. Hayes, Hope, and most Formula brakes are DOT systems that follow the same two-syringe logic with their own fittings.
Finishing up: feel, bedding, and cleanup
Refit the pads and the wheel, then pump the lever until it firms up and the bite point sits where it should. A good bleed gives you a lever that stops solid well short of the bar and returns to the same point every pull.
Clean every trace of fluid off the brake and frame with isopropyl, and be thorough with DOT because of the paint risk. Dispose of the old fluid properly: never pour it down a drain or onto the ground. Take spent DOT and any DOT-soaked rags to a household hazardous-waste facility, and used mineral oil to a waste-oil recycler. Before any hard riding, bed the pads in properly so the pads and a clean rotor get the bite they should; our disc brake pad bedding-in procedure covers that. Finally, set the caliper and rotor bolts to spec rather than guessing, using the figures in our bike bolt torque chart.
When a bleed is not the fix
Bleeding solves one problem: air in the system. It gives back a spongy lever, or one that pulls to the bar after you cut a hose or swap a caliper. It does not fix everything that feels like it should need a bleed.
If the lever firms up and then fades again over a few minutes, you are likely chasing a leak or a failing internal seal, not air. If the brake still lacks power after a clean bleed, the fix is rarely more fluid. Suspect contaminated, glazed, or worn-out pads, a bed-in that never finished, or a caliper sitting out of alignment with the rotor; our guide to disc brake pad maintenance covers cleaning and when a pad is past saving. And a bite point that has wandered for weeks, not just since you opened the system, often traces to a tired lever seal. Knowing what a bleed will and will not do saves you from bleeding the same brake three times in a row.
Fluid and kit quick reference
| Brake brand | Fluid | Our matched kit |
|---|---|---|
| Shimano | Mineral oil | Shimano bleed kit |
| SRAM Code, Guide, Level | DOT 4 / 5.1 | SRAM DOT bleed kit |
| SRAM Maven, DB8, Motive | Mineral oil (Maxima) | Mineral oil master kit |
| Magura | Mineral oil | Magura bleed kit |
| Tektro / TRP | Mineral oil | TRP/Tektro bleed kit |
| Formula Cura | Mineral oil | Formula Cura kit |
| Hayes, Hope, most Formula | DOT 4 / 5.1 | DOT kit and DOT 5.1 fluid |
The kits we carry are made by Bleedkit.com, a specialist that has built brake-bleed tooling in Ljubljana since 2011. Buying the kit matched to your brake is cheaper than the seals you replace after a fluid mix-up, and far cheaper than the brake.
Pro tip from our mechanics
The most common bad bleed we see in the shop is not actually air. It is the wrong fluid, or a pad that got a thumbprint of oil on it during the job. Confirm the fluid before you open anything. Keep one syringe marked for mineral oil and another for DOT so the two never cross your bench in the same tool. And the second you suspect a pad has touched fluid, set it aside and fit a fresh one. The bleed is the easy part; staying clean is the skill.
Tools used in this guide
Straight from the article — no hunting through the catalog.
-
Bleedkit.com Workshop Shimano Bleed Kit
Regular price $69.99 USDRegular priceUnit price per -
Bleedkit.com Bleed Kit for SRAM
Regular price $109.99 USDRegular priceUnit price per -
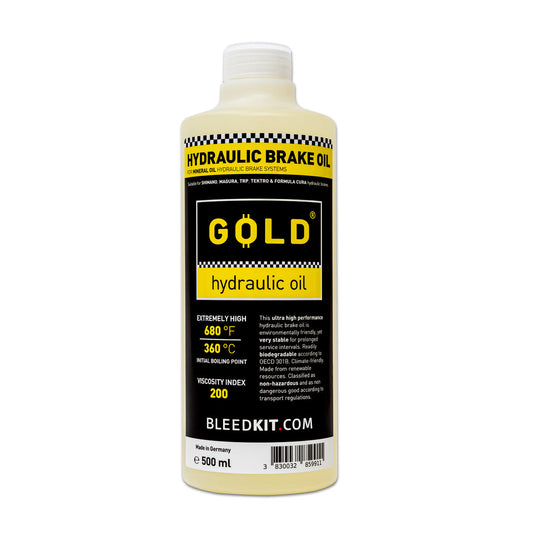
Bleedkit.com GOLD Mineral Oil 500ml
Regular price $59.99 USDRegular priceUnit price per -
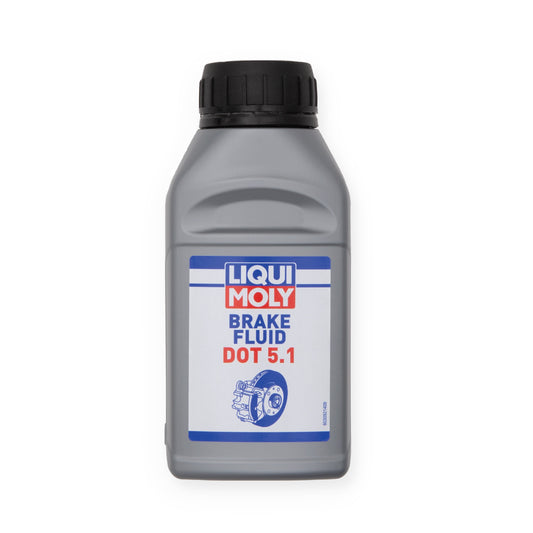
Liqui Moly DOT 5.1 Brake Fluid, 250ml
Regular price $18.99 USDRegular priceUnit price per