How to Wash a Bike: A Step-by-Step Workshop Method
The clean-to-dirty workshop method for washing a bike without wrecking the bearings or drivetrain: degrease first, wash top-down, dry, then re-lube.
On this page
To wash a bike properly, work in one direction from clean to dirty: rinse off loose grit, degrease the drivetrain first so its grime never lands on a clean frame, wash the frame and wheels with soapy water and brushes, rinse from the top down, dry the contact points, then re-lube the chain. That order is the whole trick. Most home washes go wrong by soaping the frame before the chain, which just moves black drivetrain spray onto paint you already cleaned.
A workshop wash is the same job done in a sequence that never backtracks. We mount the bike in a repair stand so the wheels spin free, keep the drivetrain quarantined to its own brushes, and finish with a dry chain ready to take fresh lube. This guide walks that sequence the way our mechanics run it, plus a cheat sheet mapping every step to the Unior tool we reach for.
What do you need to wash a bike?
You need a way to hold the bike, a way to separate the dirty drivetrain work from the clean frame work, and a way to keep small parts from disappearing down a drain.
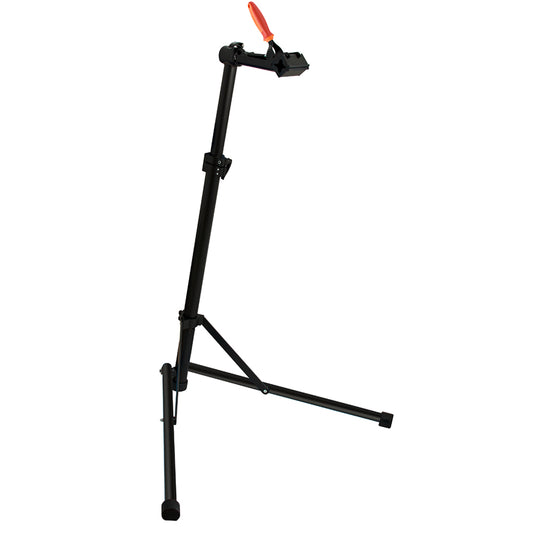
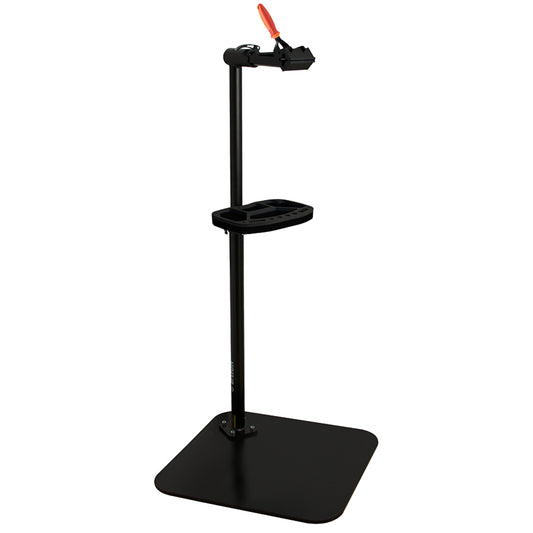
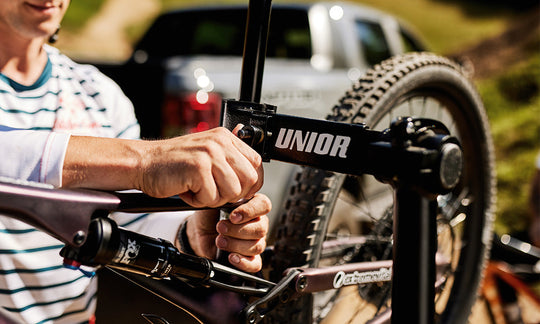
A repair stand is the single biggest upgrade to a home wash. With the bike clamped at saddle height, both wheels spin freely and you reach the underside of the bottom bracket and the back of the cassette without crouching. We run the Bike Gator Portable Repair Stand for travel and outdoor washes and a Single Arm Professional Repair Stand on the shop floor. Either one turns a wash from a back-breaking floor job into a ten-minute stand job.
Beyond the stand, the kit is deliberately simple: a bucket of warm soapy water, a stiff brush and a soft brush, a dedicated drivetrain brush you never let touch the frame, a degreaser, a chain lube, and clean rags. Keep fasteners and quick-links in a Magnetic Parts Bowl so a removed valve cap or chain quick-link does not vanish. Pull on a pair of nitrile mechanic gloves before you touch degreaser; bike-specific degreasers strip skin oils as readily as they strip chain grease.
One rule governs the whole job: brushes and rags are either drivetrain or frame, never both. A brush that has touched chain grime will smear a grey film across clear coat that takes more work to remove than the original dirt did.
How do you wash a bike step by step?
Run the steps in order. Each one is set up so the dirt always flows away from surfaces you have already cleaned, which is why the drivetrain comes before the frame and the rinse comes from the top down.
- Pre-rinse. Mount the bike in the stand and hose or pour water over the whole bike at low pressure to float off loose mud, sand, and road grit. Skip the pressure washer. High-pressure water can drive past hub, bottom bracket, and headset seals and flush grease out of the bearings, which is how a clean-looking bike ends up with a gritty hub a month later.
- Degrease the drivetrain. With the chain still on the bike, apply degreaser to the chain, then backpedal it through your drivetrain brush so the bristles scrub between the plates and rollers. Work the brush into the cassette sprockets, the chainrings, and the jockey wheels of the rear derailleur. Keep degreaser off the disc rotors and pads: contamination causes brake squeal and weak stopping, so angle the brush away from the rotor, or pull the wheels for this step if the bike runs discs. Let the degreaser dwell for the time the product label states, then set the drivetrain aside to deal with after the frame. Doing the drivetrain first means its runoff lands on a frame you have not washed yet.
- Wash the frame and wheels. Dunk the soft brush in soapy water and work top to bottom: saddle and seatpost, top tube and down tube, head tube, fork, then the wheels and tires. Use the stiff brush on tires, the underside of the down tube, and the chainstays where road spray cakes hardest. Spin each wheel and let the brush ride the rim and spokes as it turns. Keep this brush well away from the chain.
- Rinse the drivetrain, then rinse everything. Come back to the drivetrain, scrub once more, and rinse the degreaser and loosened grime off the chain, cassette, and chainrings. Then rinse the whole bike from the top down at low pressure so soap and grime sheet off toward the ground. A top-down rinse means you are never rinsing dirty water back over clean paint.
- Dry and re-lube. Dry the frame with a clean rag, then run a separate dry rag along the chain by backpedaling it through the cloth until the rag comes away clean and dry. A dry chain is the only chain that takes lube correctly; lube applied over a wet chain traps water against the steel. Apply chain lube one drop per roller while backpedaling, let it soak in for a minute, then wipe the excess off the outer plates. Lube belongs inside the rollers, not on the surface where it only collects fresh grit.
How often should you wash your bike?
Wash your bike when the drivetrain looks grey or the frame is visibly dirty, and always after a wet or muddy ride. There is no fixed mileage rule; conditions drive the schedule.
In our experience the chain is the part that sets the cadence. Road grit and water turn chain lube into a grinding paste within a few wet rides, and that paste wears the chain, cassette, and chainrings together. A rider who washes and re-lubes after every muddy outing replaces a drivetrain far less often than one who waits for a quarterly deep clean. A clean, dry-then-lubed chain after each dirty ride is cheaper than a cassette.
When should you check the rest of the drivetrain during a wash?
Check chain wear at the re-lube step, while the chain is clean and the bike is already in the stand. A clean chain reads accurately on a wear gauge; a grimy one does not.
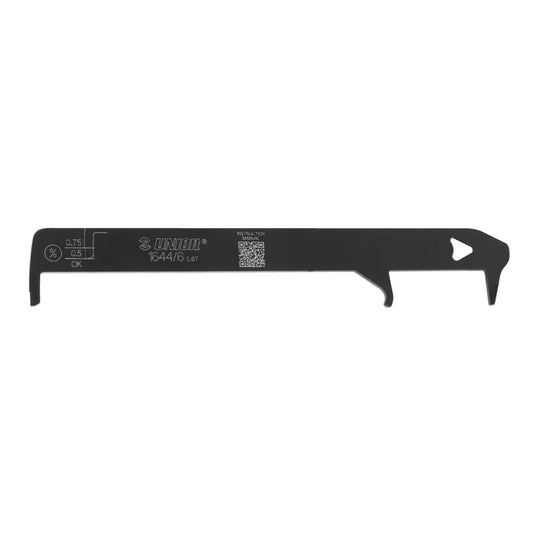
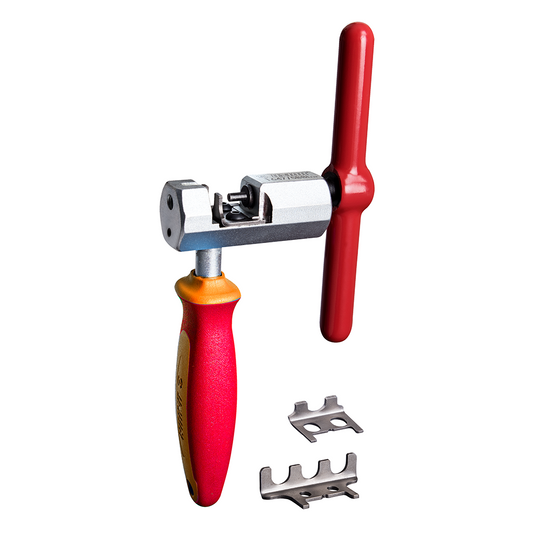
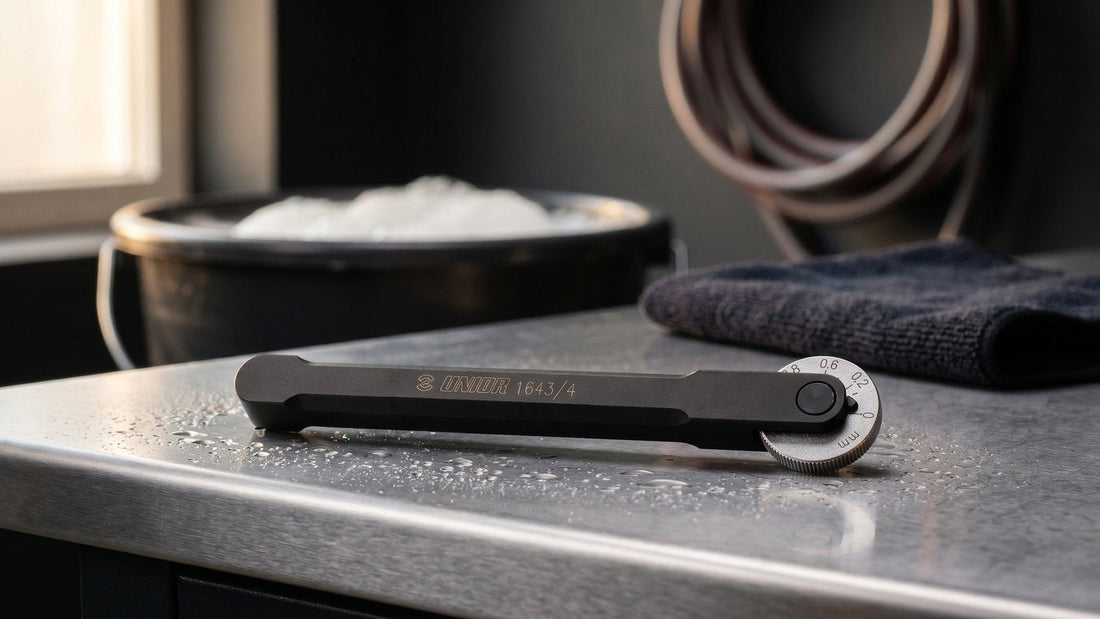
A wash is the natural moment to catch a worn chain before it drags the cassette down with it. Drop a Chain Wear Indicator onto the clean chain: it reads the 0.5% elongation replacement threshold for 11- and 12-speed chains and the 0.75% threshold for 10-speed and below. If the gauge drops in, the chain is past its service window. By the time a worn chain starts skipping under load on the cassette, the cassette is usually past saving too, so catching the chain early at a wash is what keeps the rest of the drivetrain alive. If the gauge calls the chain done, the Master Chain Tool breaks the old chain and sizes the new one; its laser-cut and forged construction is built for daily shop use rather than occasional home jobs. For a deeper service walkthrough once the chain reads worn, see our guide on when and how to replace your chain.
Why does the order of operations matter so much?
The order matters because every step either protects or contaminates the surface you cleaned in the step before it. Wash a bike out of order and you fight your own runoff the whole way through.
Drivetrain grime is the hardest dirt to remove from paint, so it goes first while the frame is still dirty enough not to matter. The top-down rinse uses gravity to carry grit away from clean surfaces, and drying before lubing keeps water out of the chain rollers. Skip the sequence and you get the classic home-wash result: a shiny frame under a grey haze of redeposited chain film, and a freshly lubed chain quietly rusting under the lube. Follow it and the wash lasts until the next dirty ride.
Unior has been forging hand tools in Zreče since 1919, and is the official technical partner of multiple World Tour and downhill teams. The repair stand at the center of a workshop wash is the same platform those team mechanics clamp a race bike into between stages.
Cheat sheet: wash step to tool
| Wash step | What it does | Unior tool |
|---|---|---|
| Hold the bike off the ground | Frees both wheels and the cranks to spin; saves your back | Bike Gator Portable Repair Stand or Single Arm Professional Repair Stand |
| Corral quick-links and fasteners | Keeps a removed valve cap or chain quick-link from disappearing | Magnetic Parts Bowl |
| Handle degreaser safely | Protects skin from degreaser that strips oils | Industrial Strength Nitrile Mechanic Gloves |
| Check chain wear after the wash | Reads 0.5% and 0.75% elongation on a clean chain | Chain Wear Indicator 1644/6 |
| Replace a chain the gauge calls done | Breaks the old chain and sizes the new one | Master Chain Tool 1647/2BBI |
| Look up a torque or spec mid-job | Reference for the reinstall numbers | Bicycle Mechanics Handbook |
A wash is the cheapest service you will ever do, and it sets up every other job on the bike. The tools above are the workshop side of getting it right the first time; the rest is paying attention to the order.
Tools used in this guide
Straight from the article — no hunting through the catalog.
-
Bike Gator Portable Repair Stand
Regular price $279.99 USDRegular priceUnit price per -
Single Arm Professional Repair Stand Manual Adjust Lever
Regular price $449.99 USDRegular priceUnit price per$599.99 USDSale price $449.99 USDSale -
Magnetic Parts Bowl
Regular price $12.99 USDRegular priceUnit price per -
Industrial Strength Nitrile Mechanic Gloves
Regular price $24.75 USDRegular priceUnit price per -
Chain Wear Indicator
Regular price $19.99 USDRegular priceUnit price per -
Master Chain Tool
Regular price $109.99 USDRegular priceUnit price per