Why Is My Bike Chain Skipping? A Mechanic’s Diagnosis Order
A skipping or slipping bike chain has six usual causes. Here is the order a mechanic checks them, with a test for each and the tool that decides it.

On this page
A bike chain skips for one of six reasons: a worn chain, a new chain on a cassette or chainring the old one reshaped, a stiff or damaged link, a bent derailleur hanger, an indexing or cable fault, or a freehub that no longer engages. The mistake we meet most often on the bench is a weekend spent on the barrel adjuster of a drivetrain that was simply worn out. Indexing does not fix wear. The checks below run in the order a mechanic runs them, with the test for each and the tool that settles it.
First, notice when it skips
Under-load skipping that stays in gear is a wear problem, and skipping that arrives with a shift is an adjustment problem. Two questions sort the six causes: does it skip under hard pedaling or at any effort, and does it happen in every gear or only in one or two?
| What you feel | Most likely cause | The test |
|---|---|---|
| Pedals lurch forward under hard effort, in the gears you ride most, chain stays on its cog | Worn chain, or a new chain on a reshaped cassette | Measure the chain, then gauge the cogs |
| Chain hesitates or hops between two cogs at any effort, usually in one or two gears | Indexing, cable drag, or a limit screw | A quarter turn of the barrel adjuster |
| A regular click or hop once per turn of the chain, in any gear | A stiff link or a bent plate | Backpedal slowly and watch the pulleys |
| Shifting went vague everywhere after a crash, a fall, or a flight | Bent derailleur hanger | Hanger alignment gauge |
| Chain rides up the chainring instead of releasing, or jams between crank and chainstay | Chain suck from worn or bent chainring teeth | Look at the tooth profiles |
| Pedals spin free for a moment before the bike drives, or the hub drags while coasting | Freehub not engaging | Spin the cassette backward by hand |
The table gives the likely cause and the first test for each.
1. Measure the chain before you adjust anything
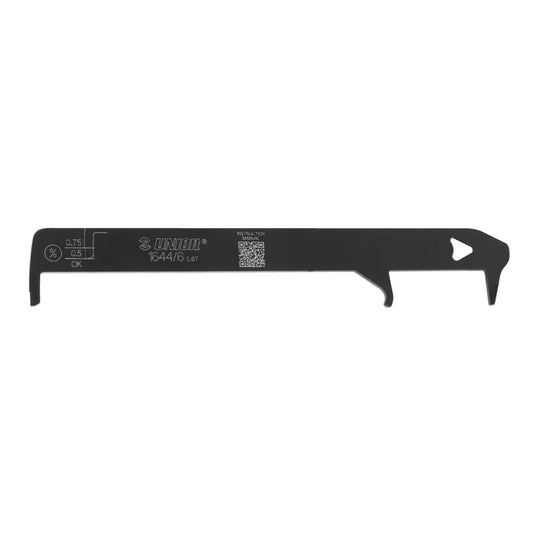
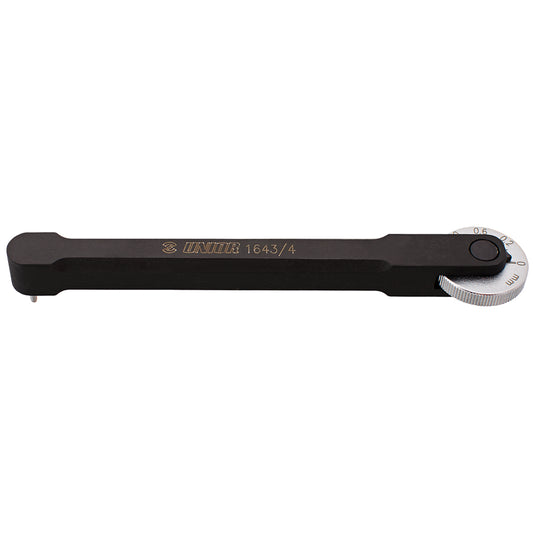
The general rule, and the two marks on the gauge, is 0.5% elongation for 11-speed and up and 0.75% for 10-speed and older. Chain makers set their own limits, and SRAM’s chain manual says 0.8%. One tool, the Chain Wear Indicator 1644/6, carries both marks at opposite ends. A dial gauge such as the Professional Chain Wear Indicator 1643/4 shows the actual figure instead, from zero to 1.2%, which matters when you are deciding whether the chain lasts the season. Why a chain elongates, and how to measure one with a ruler when there is no gauge, is in our guide to replacing a chain.
A chain past 0.5% usually still shifts fine, which is why people keep riding it, and it will not skip until it has reshaped the cogs. So a worn chain rarely skips, but it is where every skip that follows begins. If the gauge drops in, do not order a chain yet: the cassette check below decides whether a chain alone will fix it.
2. New chain, worn cassette: the skip we see most
The old chain ran long enough to file every tooth valley on the cogs you ride most to its own longer pitch. A fresh chain, cut to the correct pitch, no longer drops into those valleys. Under load it climbs the tooth and lets go, the pedals lurch, and the rider blames the new chain.
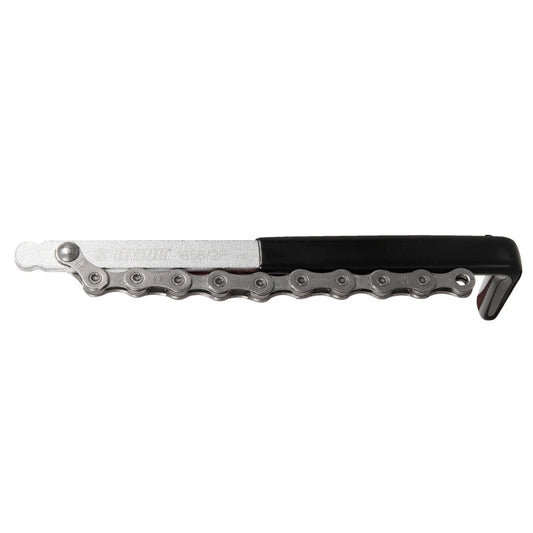
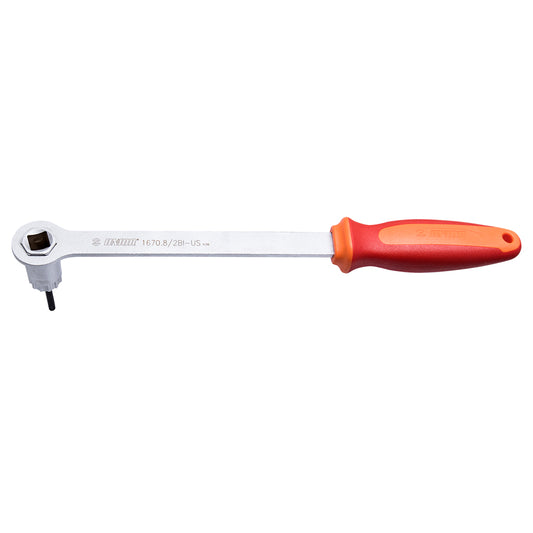
Read the cogs before you fit the chain. A Sprocket Wear Indicator 1658/2P drapes a length of new chain over the cog and tells you in one press whether a fresh chain will still seat; our cassette guide shows how to read it and which cogs to test. If the chain is already on and skipping, that is the same verdict delivered late: the cassette has to go, and a drivetrain ridden past 1% elongation usually needs its small chainring too. The Integrated Cassette Lockring Wrench 1670.8/2BI-US gives a stuck lockring the leverage it needs.
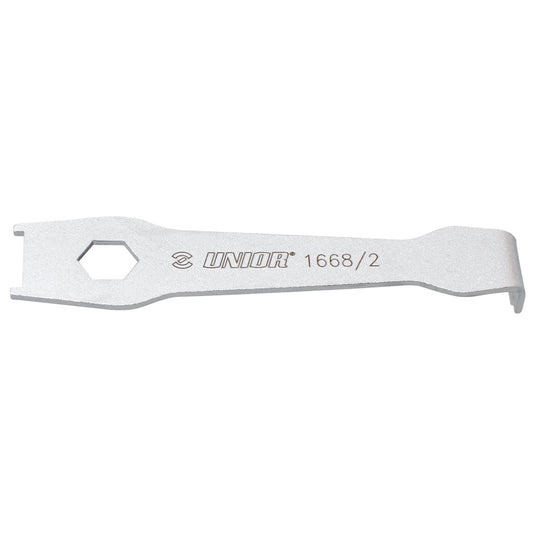
Chainrings wear into a hooked profile; healthy teeth are symmetrical. A hooked ring stops releasing the chain at the bottom of its rotation and carries it up the back instead, which is chain suck. Bent teeth and a badly adjusted front derailleur do the same, so check the tooth profile first. A hooked or bent ring needs replacing, and a chainring nut wrench holds the nut behind the ring still while the bolt turns.
3. A stiff link or a bent plate
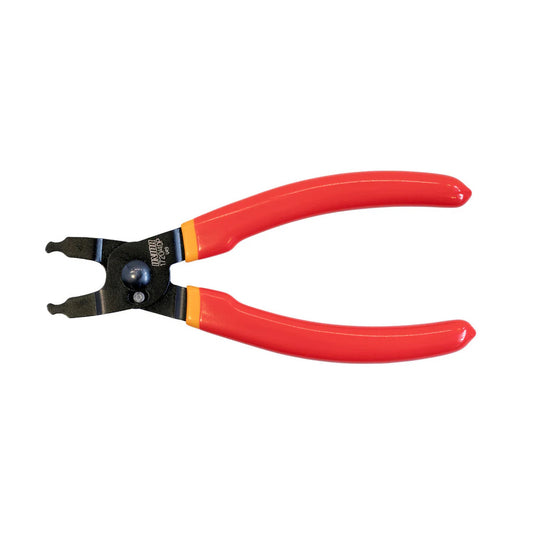
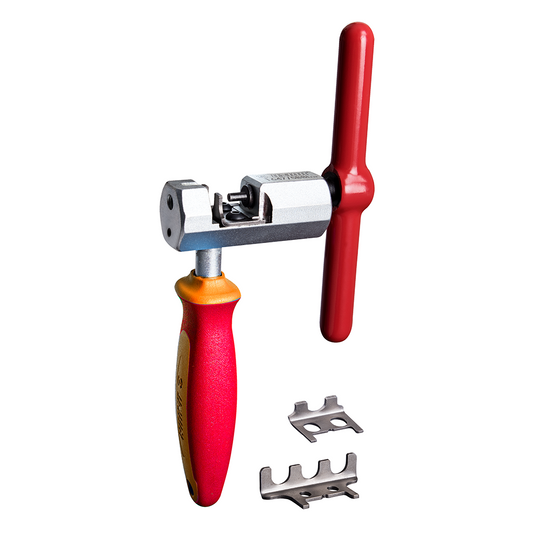
One tight link is enough to skip. It refuses to articulate as it wraps the upper pulley, once per chain revolution, which is the fingerprint: a rhythmic click at the same interval in every gear. Lift the rear wheel, backpedal slowly, and watch the chain leave the lower pulley; the stiff link kinks instead of hanging straight. Most tight links are a freshly pressed pin, and the fix is to flex the joint sideways between your thumbs until it frees, which is also the last step in Campagnolo’s own installation instructions. A twisted or bent plate will not free up; remove that link and close the chain on a new master link. Master links for 11- and 12-speed chains are mostly single use, so keep a spare with the bike. The Master Link Pliers 1720/4DP open and close most of them without a fight. A SRAM PowerLock is the one to remember: SRAM says it is designed for single use, so the pliers take the old one off and a new one goes on. The Master Chain Tool handles the pin work when a link has to come out mid-chain. If the chain is new, check its length too: too long, and it sags and shifts lazily.
4. A bent derailleur hanger
A bent hanger is the cause that hides behind the other five, because its symptom is an adjustment fault that no adjustment will hold. The hanger is the soft aluminum piece that gives way before the frame does, and once it has taken a hit the derailleur swings through an arc that is no longer parallel to the cassette. Tension the cable until one gear lands and the next one hops; back it off and the first one hesitates. On an 11- or 12-speed cassette half a millimeter of misalignment is enough to do that, which is why our rear derailleur guide puts the hanger first: you cannot perfect the imperfect.
The check takes a gauge, because a bend that spoils 12-speed shifting is too small to see. A hanger alignment gauge threads into the hanger’s M10 × 1 threads where the derailleur bolts on, and its arm sweeps out to the rim. Touch the rim at one point, then rotate arm and wheel together to three more positions: if the gap changes, the hanger is bent, and the largest gap shows which way. The Hanger Genie 2.0 locks its measuring gauge so the reference cannot drift, fits 26, 27.5, and 29 inch wheels, and doubles as the lever that eases the hanger back. Unior’s own service manual sends the mechanic to that check whenever the dropouts have been out of true.
Straighten or replace? Most current frames use a replaceable hanger, and on aluminum and carbon it is the sacrificial part so the frame never takes a correction load: ease a mildly bent one straight, replace one that is badly bent or has been bent before. Only steel cold-sets cleanly enough to be straightened repeatedly. If your bike runs SRAM’s Eagle Transmission, skip this section; SRAM describes it as a full-mount design with no derailleur hanger, built around the wheel axle itself. Our bent hanger guide covers when a hanger is worth saving.
5. Indexing, cable drag, and worn pulleys
If the skip comes with a shift, sits in one or two gears, or appeared after new cables, the cause is adjustment. A quarter turn of the barrel adjuster is the test: counterclockwise adds tension and helps the chain climb to a bigger cog, clockwise releases it. If a quarter turn fixes one gear and breaks another, stop turning; that pattern means the fault sits upstream of the tension, in the hanger or the cable. Our rear derailleur adjustment guide runs the full sequence: hanger, high limit, tension, low limit, B-tension.
How the adjustment fails tells you which of two impostors you have. An adjustment that held for a week and then drifted is new housing bedding in, and it wants its quarter turn. One that never holds at all is friction, from grit inside the housing or a chain run dry, and a barrel adjuster cannot cure friction; the drift section of the rear derailleur guide covers both. Finally, the pulleys: jockey wheels are meant to have a little side play, but a worn one lets the chain wander in the cage and drop; our jockey wheel service note is a short job.
6. The freehub is not engaging
If the pedals spin free for a moment and then catch, or you feel a hard clunk as the drive takes up, the chain is not the problem. The drivetrain is delivering torque to a freehub that is not passing it on. On a cassette hub the ratchet lives in the freehub body behind the cogs: spring-loaded pawls, or a pair of toothed rings on some designs, that lock when you pedal and click past each other when you coast. Cold weather, old grease, and water stop them. A stuck pawl does not lock, the body slips a tooth or two, and the rider feels a skip with no gear pattern.
The test takes ten seconds. With the rear wheel off the ground, turn the cassette backward by hand: it should spin freely with an even, regular click. Turn it forward: it should drive the wheel immediately, with no dead spot. A body that drags while coasting is the same fault from the other side, and it pushes the chain forward when you stop pedaling, so the lower run goes slack and the chain can drop off the ring on rough ground. Riders describe that one as the chain slipping when they are not pedaling.
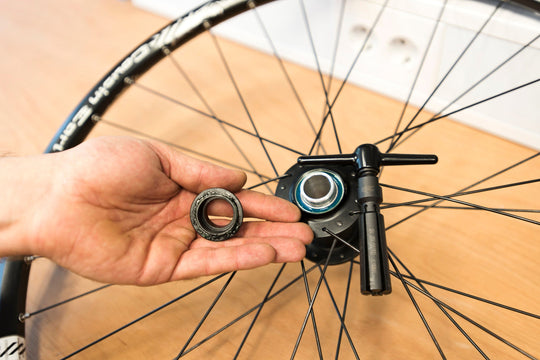
The fix depends on the hub. On a Shimano freehub body the pawls are sealed inside; the service is to flush the body with a cleaner, run a heavier oil through the mechanism until the click quietens, and replace the body if it still slips. Campagnolo bodies come apart, and worn pawls show rounded edges. Ratchet-ring designs are sensitive to grease, and too much of it or the wrong type makes the rings skip, so follow the hub maker’s spec. Either way the cassette comes off first, one more job for the lockring wrench above.
Pro tip from our mechanics
Measure, then align, then adjust, in that order and never the reverse. Every drivetrain that comes to us with a skip gets the chain gauge first, because a five-second measurement either ends the diagnosis or tells us the cassette is next, and either way it saves an hour of barrel-adjuster work. The chain gauge lives in the top drawer, the hanger gauge on the wall beside the stand, and both get used before a screw turns. If your bike passed the whole list, our end-of-season check-up catches whatever else the season wore down.
Unior has been forging hand tools in Zreče, Slovenia, since 1919. Diagnosis was part of the craft long before it was part of the catalog, and the gauges in this guide are a century of forging applied to a five-second question: is this part worn, or is it out of line?
Tools used in this guide
Straight from the article — no hunting through the catalog.
-
Chain Wear Indicator
Regular price $19.99 USDRegular priceUnit price per -
Professional Chain Wear Indicator
Regular price $29.99 USDRegular priceUnit price per -
Sprocket Wear Indicator
Regular price $24.95 USDRegular priceUnit price per -
Hanger Genie 2.0 Hanger Alignment Tool
Regular price $149.99 USDRegular priceUnit price per -
Master Link Pliers
Regular price $24.99 USDRegular priceUnit price per -
Integrated Cassette Lockring Wrench w/Guide
Regular price $49.99 USDRegular priceUnit price per -
Master Chain Tool
Regular price $109.99 USDRegular priceUnit price per -
Chainring Nut Wrench
Regular price $6.99 USDRegular priceUnit price per

Frequently asked questions
Why does my bike chain skip when I pedal hard?
Skipping that only shows up under hard effort, while the chain stays on the same cog, is a wear mismatch: either the chain has elongated past its limit, or a new chain is running on cogs the old chain reshaped. Measure the chain with a wear gauge first; if it passes, gauge the cogs you ride most. A freehub that slips a tooth under torque feels similar but has no gear pattern.
What causes a bike chain to skip?
Six things, in the order worth checking: a worn chain, a new chain running on cogs or a chainring the old chain wore, a stiff or bent link, a bent derailleur hanger, an indexing or cable fault, and a freehub that no longer engages. Under-load skipping in the gears you use most points to wear; skipping that arrives with a shift points to adjustment.
Why is my bike chain slipping when I am not pedaling?
Usually the freehub. If the pedals spin free before the wheel drives, the pawls or ratchet inside the freehub body are not locking. If the hub drags while you coast, it pushes the lower run of chain slack, and the chain can drop off the chainring over bumps. Spin the cassette backward with the wheel off the ground: it should turn freely with a regular click, and drive the wheel the instant you turn it forward.
Why is my bike chain skipping in the highest gear?
A new chain skips in your highest gear when that cog is more worn than the rest of the cassette. If the skip only happens after the shift into that gear, suspect the high limit screw or cable tension instead. A quick test: skipping under load in that gear alone, with no hesitation on the shift, is the cog; skipping that comes with the shift is the adjustment.
Why is my new bike chain skipping under load?
If it skips under load in the gears you ride most, with no hesitation on the shift itself, the cassette was reshaped by the old chain and the new chain is fine; the cassette guide's new-chain-skip test is the verdict, and the fix is a new cassette. If the skip arrives with the shift instead, look at the indexing or the hanger, not the cassette.